
What Makes a Great Outdoor Christmas Lighting Display?
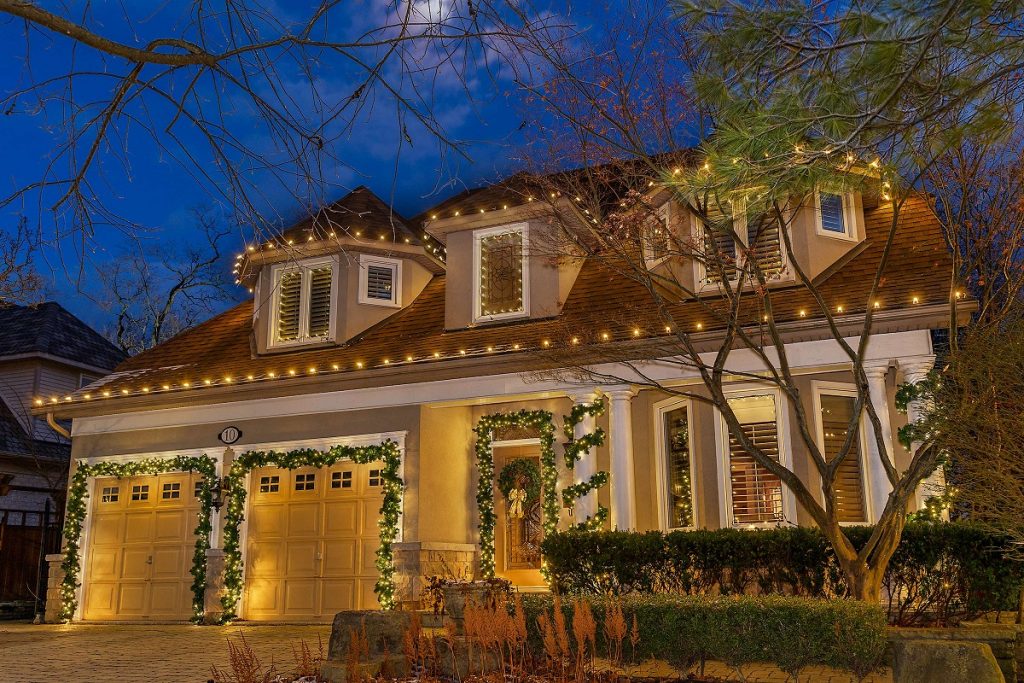
A great outdoor Christmas display is balanced, cohesive, and proportional to the scale of the home. It has a clear focal point — usually the front door or a statement tree — and builds outward from there with complementary lighting on the roofline, porch, and yard. The best displays use a consistent colour palette, match the intensity of the lighting to the size of the property, and look intentional rather than assembled piece by piece over the years. Less is almost always more when you’re starting out.
Every great outdoor Christmas display starts with a simple idea: you want your home to look welcoming and festive, without looking chaotic or overdone. Whether you’re decorating for the first time or finally deciding to do it properly after years of half-hearted effort, the principles are the same. Start with a plan, work from a focal point outward, keep your palette consistent, and resist the urge to add more just because you can.
Christmas Décor of Oakville has been designing and installing holiday displays for homes and businesses in Oakville and south Mississauga since 1998. This guide brings together everything we’ve learned about creating a display that looks beautiful, feels intentional, and holds up through an Ontario winter. Browse our photo gallery for examples of displays at every scale.
Step 1: Start with a Plan, Not a Box of Lights
The most common decorating mistake is pulling last year’s lights out of storage and starting to hang them without any idea of the overall design. This approach produces displays that look random — not because the individual elements are wrong, but because they’re not working together.
Before you buy anything or install anything, do this:
- Walk to the street and look at your home from the outside. This is the perspective that matters — not from your driveway. Identify what you want to highlight and what you want to minimize.
- Make a rough sketch. It doesn’t need to be artistic. Just note where the focal points are, where the roofline and eaves are, where your trees are, and where the porch and entry are.
- Choose your colour palette before you choose your lights. Warm white, cool white, or a specific colour scheme — decide first, then shop. Mixing warm and cool white in the same display is the most common mistake that makes a display look unplanned.
- Measure your roofline, tree heights, and railing lengths before purchasing lights. Running out of lights mid-installation is how displays end up looking incomplete.
Step 2: Start Small — The Front Door and Porch
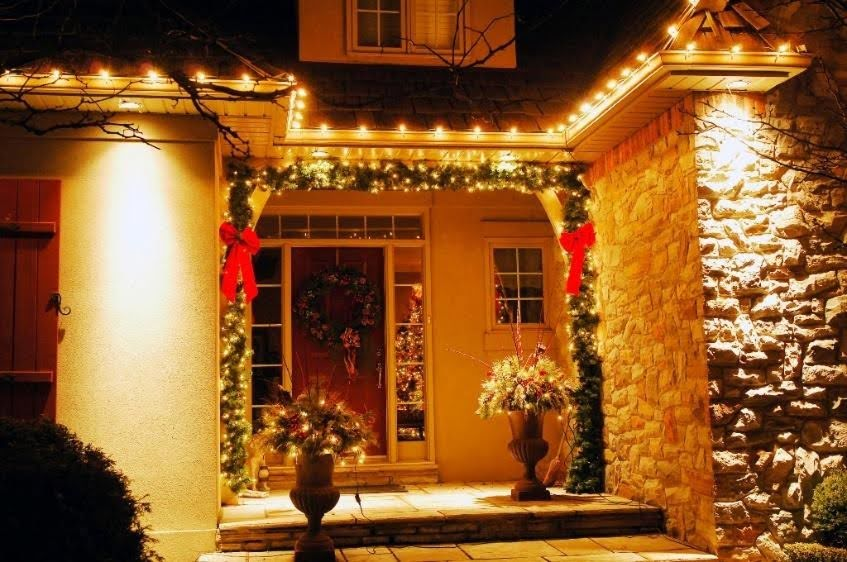 If you’ve never decorated outdoors before, or if you’re working with a modest budget, the front door and porch are where to begin. This is the single area that every guest, neighbour, and passerby will notice — and it’s entirely achievable without a ladder.
- A wreath on the door — proportionate to the door size (24″ for standard, 30″+ for double doors)
- Garland around the door frame — use a garland hanger, not nails or hooks
- String lights woven through the garland or pre-lit garland for evening presence
- Wrapped railing or porch columns — mini lights in a consistent colour
- A seasonal doormat and a pair of lanterns on either side of the door
This combination — done well and consistently — creates a display that looks thoughtful and complete without being overwhelming. You can always add more in subsequent seasons once you’ve established the foundation.
Step 3: Eaves and Rooflines — The Frame of the Display
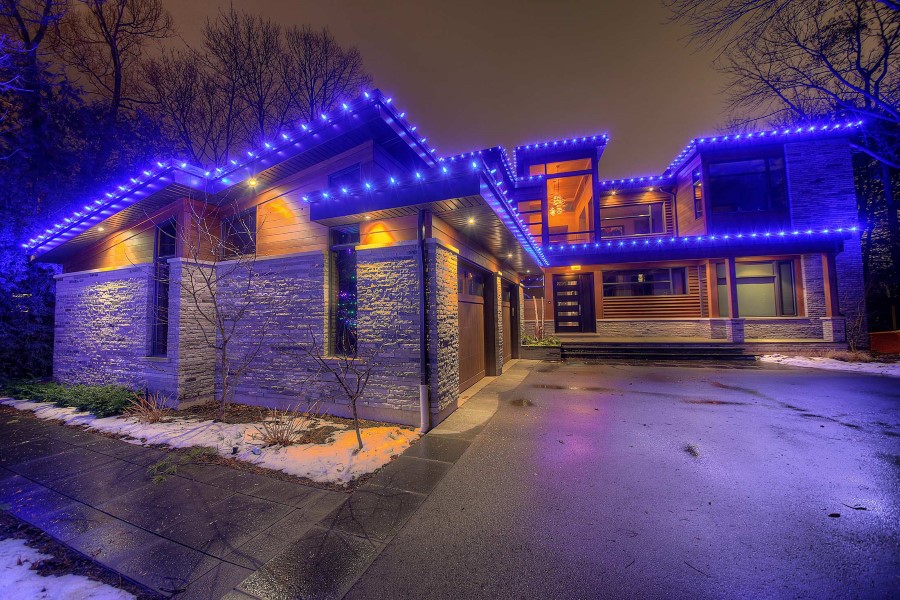
Once the porch is established, the roofline is the logical next step. It’s the most visible part of your home from the street and the element that ties the whole display together. Even a simple single strand of C9 lights along the eave creates enormous impact.
- Start with the front-facing roofline and eaves — the sides and back can come later if budget allows
- Use C9 LED bulbs for rooflines — they’re large enough to read from the street, unlike mini lights
- Icicle lights hanging from the eaves add depth and elegance to an otherwise flat horizontal line
- Match your roofline colour to your porch and garland lighting for a cohesive display
- Use plastic light clips — never staples or nails — to attach lights to eaves and fascia
See more roofline ideas in our Christmas Lighting Ideas for Your Roof guide.
Step 4: Windows — Often Overlooked, High Impact
Windows are frequently skipped in DIY displays because they feel secondary to the roofline and door. But a second-storey window with a single strand of lights around the frame, or a lit Christmas tree visible in a first-floor window from the street, adds a dimension and warmth to the display that roofline lighting alone can’t provide.
- A single strand of mini lights around a second-storey window frame is simple and elegant
- Lighted garland around a window frame is a step up — more presence, more warmth
- A lit indoor tree visible from the street creates depth and a sense of interior life that makes the whole property feel more inviting
- Consistency matters — if you light one window, consider lighting all the prominent windows, or deliberately leaving them all unlit as a design choice
Step 5: Front Yard Trees — The Statement Pieces
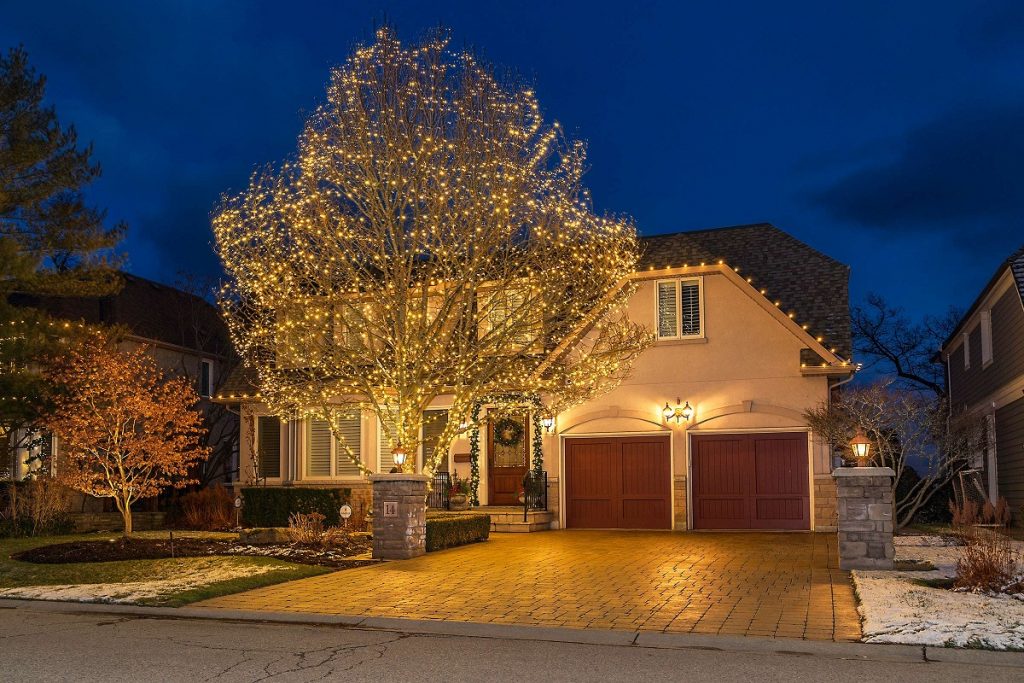
If your front yard has trees, lighting them transforms your display from a decorated house into a fully composed scene. Trees add vertical dimension, depth, and organic warmth that no amount of roofline or porch lighting can replicate.
Approach:
- Choose one or two statement trees rather than trying to light everything — a single beautifully wrapped deciduous tree or a fully lit evergreen has more impact than five trees with inadequate coverage
- Match the tree lighting colour to your roofline and porch — consistency across the entire property is what makes a display look designed
- For deciduous trees, trunk and branch wrapping creates a striking sculptural effect in winter
- For evergreens, horizontal wrapping or a full canopy wrap produces a rounded, glowing silhouette
See our full tree lighting guide: The Complete Guide to Outdoor Christmas Tree Lighting.
The Most Important Design Principle: Balance
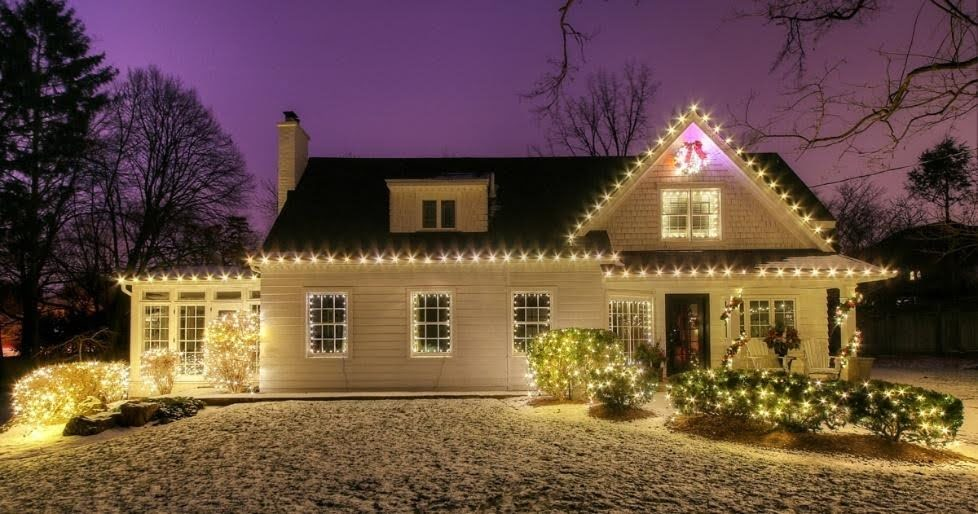 Whatever scale of display you choose — from a single porch wreath to a full-property installation — balance is the principle that makes it look designed rather than accidental.
- If you light the roofline, have something below it. Roofline-only displays look top-heavy. A wrapped railing or lit trees below anchor the display.
- If you have a lit tree on one side of the yard, balance it with something on the other side — another tree, additional porch lighting, or even a lit pathway.
- If you use colour on the roofline, carry it through to the porch and trees. Isolated pockets of colour look like mistakes.
- Leave negative space intentionally. Not everything needs to be lit. The dark areas make the lit areas more impactful.
- Think about what the display looks like at different distances — from the sidewalk, from across the street, from a passing car. Great displays work at all three.
Simplicity and Elegance: The Less-is-More Approach
A common fear among first-time decorators is that a minimal display will look bare or unfinished. The opposite is usually true — a small number of well-chosen, well-executed elements looks far more polished than a large number of mismatched ones.
- Choose a single accent piece and build the rest of the display around it — a stunning wreath, a beautifully wrapped tree, or an elegant roofline treatment
- Wreaths and garland are classics for a reason — they’re timeless, elegant, and work in any colour palette
- A consistent accent colour (a single red bow, a single warm white throughout) unifies even a modest display
- Pathway lighting using wrapped shrubs rather than solar stake lights provides better ambiance and handles Ontario winters far more effectively
Let Christmas Décor Design and Install It for You
The principles in this guide are exactly how Christmas Décor of Oakville approaches every installation — starting with a property assessment, establishing a focal point, choosing a palette, and building outward from there. If you’d like us to do this for your home or business, request a free design consultation. We serve Oakville and south Mississauga (south of the QEW) and we’ve been doing this since 1998.
Ready to Get Started?
Call us at 905-632-2445 or request a quote online.